The Battle of Jutland
The Battlecruiser Action
 15.30
15.30
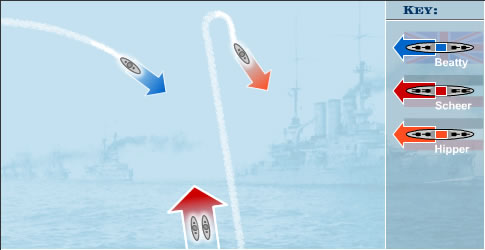
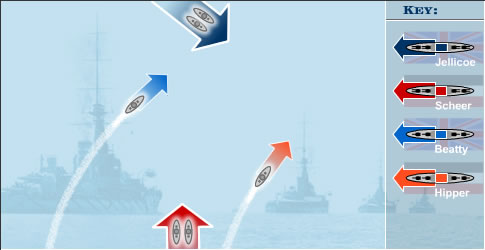
Beatty sights Hipper's leading battlecruisers. Hipper turns towards the South East, hoping to lure Beatty in the direction of Scheer's main battle fleet which is 50 miles to the South and rapidly closing. At this point, Scheer and Hipper must have thought that their plan of detaching Beatty from the British Grand Fleet was working.
 15.48
15.48
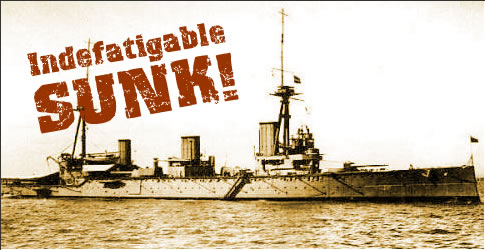
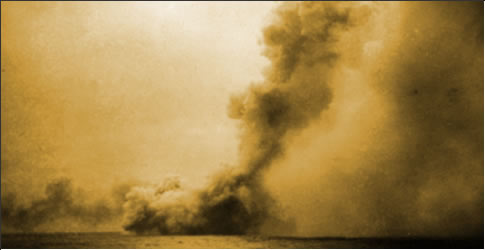
Both sides open fire. Almost immediately, HMS Indefatigable is blown up and sunk with the loss of all but two of her 900 crew.
 16.26
16.26
HMS Queen Mary receives a direct hit on her magazine, she explodes spectacularly and sinks. From a crew of 2,000 only twenty survive.
 16.40
16.40
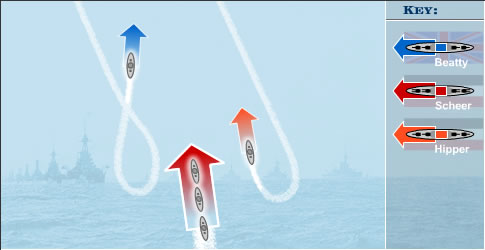
Beatty sights the German High Seas Fleet in the distance and turns his battlecruisers Northwards to avoid the German trap. He sets his own by drawing Scheer and Hipper towards Jellicoe and the British Grand Fleet which is rapidly approaching from the North West.
 17.35
17.35
Whilst escaping to the North West, Beatty continues to engage Hipper's cruisers, forcing them further to the East. Unable to see the approaching British Grand Fleet, the whole German fleet is about to enter the trap Jellicoe and Beatty have prepared.
 Next: The Main Fleet Action

Navigation
+++ Background to the Battle +++
Why did the most powerful naval forces in the world collide at Jutland?
+++ The Admirals +++
Profiles of the commanders of the British and German fleets.
+++ A Comparison of the Fleets +++
A comparison of the strengths and weaknesses of the British Grand Fleet and the German High Seas Fleet.
+++ The Battle Area +++
Map illustrating the battle area of the Battle of Jutland, showing the positions of the British Grand Fleet and German High Seas Fleet at 14.00 hours on 31st May 1916.
+++ The Battle Action at Jutland +++
An animated movie of the Battlecruiser and Main Fleet action as the world's most powerful naval forces unexpectedly collide at Jutland.
+++ Gains and Losses +++
Damage assessment of the British and German fleets following the Battle of Jutland.
+++ Short Term Consequences +++
Quotes relating to the short term consequences of the Battle of Jutland.
+++ Long Term Consequences +++
Quotes relating to the longer term consequences of the Battle of Jutland.
+++ Free eBook: Battle Fleet Action from HMS Neptune +++
Join the look-out in the fore-top of HMS Neptune as Admiral Beatty's battlecruisers lead the German High Seas Fleet into the massed guns of the battleships of the British Grand Fleet.
+++ NEW! The Ultimate Battle of Jutland Resource Pack +++
This unique package is crammed with exclusive diagrams, images and rare hard-to-find resources that would take you weeks to find - even if you knew where to look.
+++ Image Gallery +++
A gallery of photographs displaying the ships and admirals of the British and German fleets that took part in the Battle of Jutland.
+++ Site Map +++
A list of every page on this web site.